Hairstyling & Hair Setting/Curling
12 Expert Techniques
By Luc Vincent
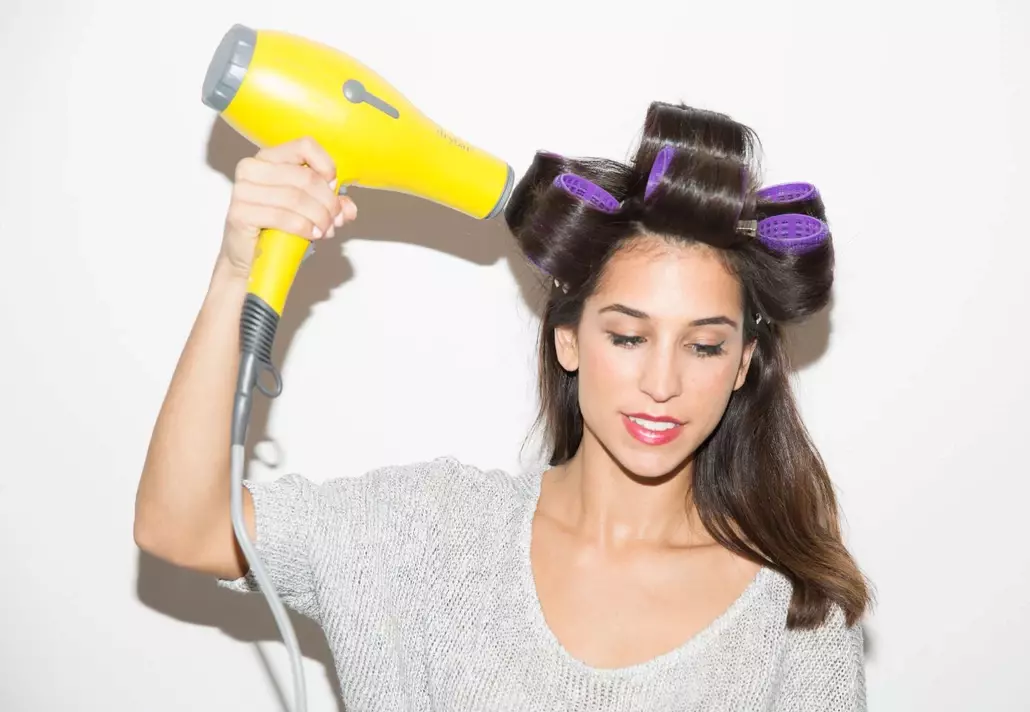
To understand the principle of setting curls, it is important to know that your hair is most malleable when it is warm or wet. It will only take its final form once it dries and is cooled.
Technique 1
The diffuser
To achieve a beautiful curly effect, use a shampoo specifically designed for curly hair.
If you need hydration, use the conditioner from the same product range for curly hair.
You will find many setting products for curly hair on the market, including curl activators that are capable of strengthening weak curls. For a beautiful hairstyle, the gradient plays a very important role. Make sure you have the right haircut.
Step 1:
On well-wrung hair, apply a good amount of mousse or your curl product, head down, scrunching the hair with your fingers from the roots to the ends. Make sure to apply the product evenly throughout the hair.
Step 2:
Using a hair dryer and a diffuser, start drying the head down. Lift the roots with your fingers, scrunching the hair intermittently with light movements.
It is important to keep the head in the direction of the diffuser to get the maximum volume. For less volume, place the head in the opposite direction of the diffuser.
Technique 2
The fringe
Cutting your own fringe can quickly turn into a disaster.
It is important to evaluate a few important points before cutting the fringe.
First, you need to define the natural fall (the growth) of your fringe and be careful of spikes (cowlick).
You then need to determine the desired thickness and length.
Drying the fringe is just as important as the cut.
The method suggested here will make setting the fringe easier, even in the case of rebellious hair.
Get long scissors and a hair dryer with a nozzle.
Step 1:
After wetting your hair (only wet the fringe if your hair is already set), isolate the fringe. Start at a point located at the root of the hair on the top of the head and go down to form a V, determining the desired width. It is important to follow the natural movement of the hair.
Step 2:
Without tension, bring the hair to be cut to the middle of the nose.
Step 3:
In front of a mirror, cut the fringe under the eyebrow line in one stroke with long scissors. Make sure to cut slightly longer than the desired length, as the hair will take volume when drying and it will then be easier to correct the length. This will result in a slightly rounded fringe.
Step 4:
Using a comb, dry the root of the fringe by oscillating from left to right. This technique is ideal for fighting spikes and rebellious fringes. Finish drying the tips with a round brush.
Step 5:
If desired, correct the cut of the fringe corners by being careful to always cut the hair from the center of the face to the outside to avoid mistakes. It is better to use long scissors, as they will allow you to cut straight. Use the hollow of your nose as support. Your scissors must be stable and not be suspended.
Technique 3
Setting curls
To achieve a beautiful hairstyle, it is important to use the tools and products that suit our hair type.
Note that the steps will be the same for short hair.
To properly understand the principle of this type of hair styling, remember that: it is when your hair is wet or heated that it is pliable. They only take on their final shape once they are dry and well cooled, which is why it is important to thoroughly dry your hair and wait for it to cool down before considering that the styling is complete.
Step 1:
Untangle your hair and wring it out, then apply styling product by combing to distribute it evenly from root to tip.
Always use the hairdryer with its nozzle, as this will help to increase the shine of your hair and to distribute heat evenly.
Dry the roots back to front with a flat brush to give volume to your hair.
Choose the brush that is appropriate for the desired volume.
A brush that is too big could prevent you from reaching the roots.
Step 2:
If you have bangs, start by drying them. Isolate the top of the head with a clip, then divide the lower section into two. Then start styling by drying from roots to tips. Finish the movement until the tips. Continue styling the rest of the hair by working in small sections.
Step 3:
To give a rounded finish, wrap the strand around the brush while drying at maximum heat, then let the strand cool while keeping the brush in place. You can also use the cooling setting of your hairdryer. Gently unwrap the brush when the strand is cooled.
Technique 4
Perming
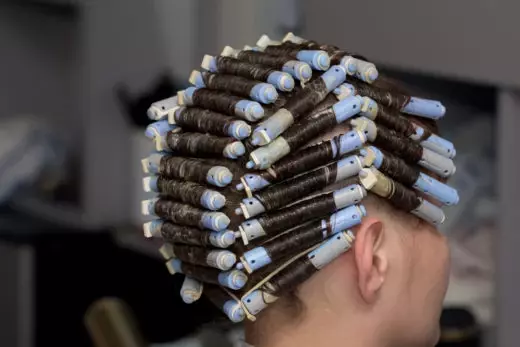
Perming is a great way to change the texture of your hair, but it is very important to know some rules before starting to use it.
First and foremost, it is necessary to do a porosity test to make sure that the health of your hair is sufficient to undergo such a chemical transformation. In fact, if you have split ends, if your hair has already been bleached, relaxed or subjected to any other strong chemical treatment, perming could be risky and even dangerous for your hair.
Just like hair bleach, perming is one of the most chemical transformations that your hair can undergo. It completely changes its internal structure.
Evaluate your hair needs and curl type. Do you need a very strong texture or curl? More or less volume? The choice of rollers is very important, as is the rolling method.
You can even use two different roller sizes alternately to achieve a more natural effect, or distribute them in different areas according to your needs.
Perming is done on wet hair. So be sure to wring it out with a towel first. It is best to use a gentle, non-treating shampoo. Do not rub your scalp or just touch it to prevent any irritation.
It is very important to follow the manufacturer's instructions.
Don't forget to neutralize your hair at the end using the product intended for this operation and wait 48 hours after perming before washing your hair. Saturate your hair well and don't exceed the processing time: the result could be catastrophic. Also avoid fringes on your face.
Assembling the perm
Technique 5
Step 1:
It is important to follow the styling movement to maintain the style. Lift a strand and hold it firmly between your fingers on the top of your head.
Step 2:
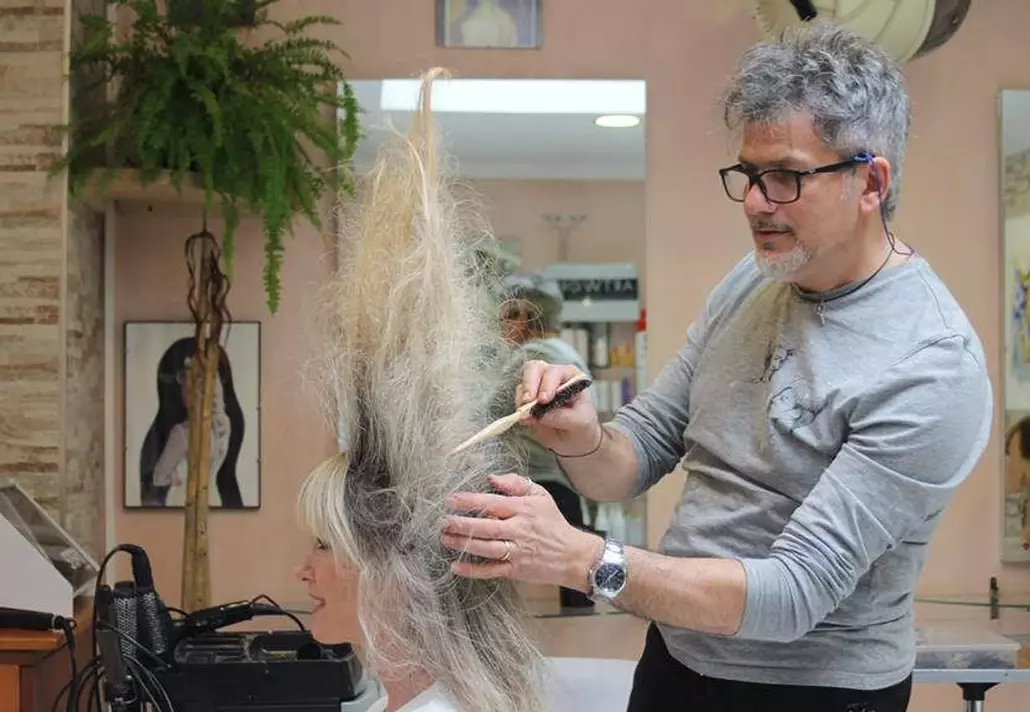
Using a tight-toothed comb, start backcombing by going from the tip to the root in one delicate and light movement, while always holding the tip and maintaining tension on the hair.
Step 3:
After backcombing the desired sections, run a tight-toothed comb or brush over the surface of the backcombed strand. To get a firmer backcombing, spray a fixative at the base of the backcombing before polishing.
Technique 6
Extensions
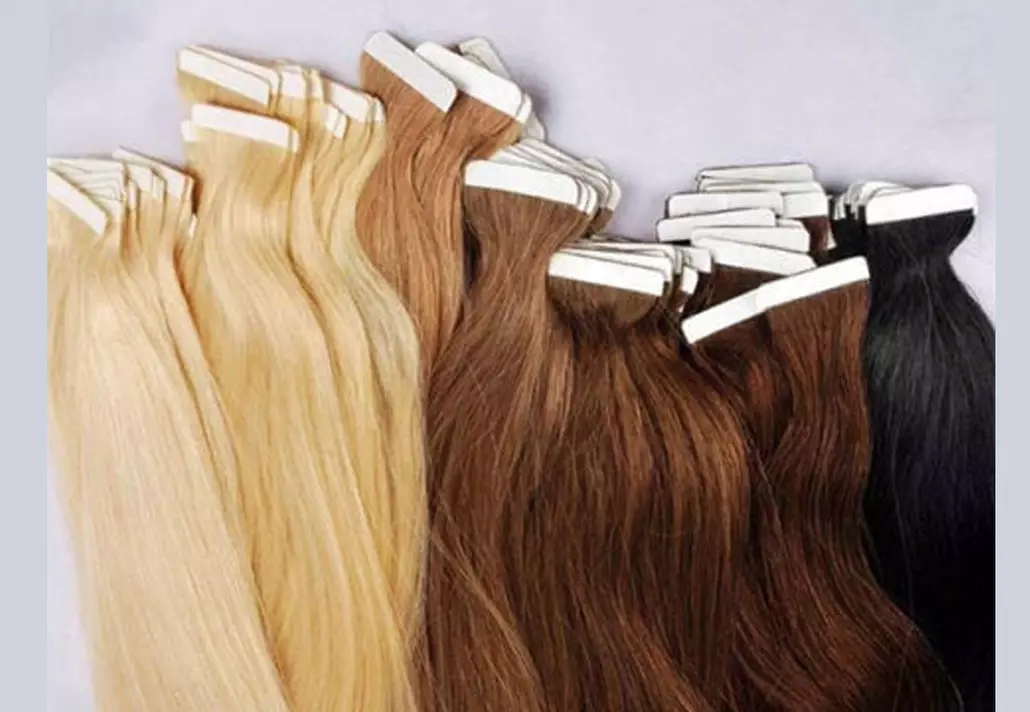
There are several ways to attach extensions, including glue and resins.
These semi-permanent (from a few weeks to a few months) methods are used only by hair professionals. These techniques, which are generally expensive, consist of gluing small strands of hair to the roots, giving a natural effect.
As far as you are concerned, you can wash and dry your extensions like real hair. To avoid damaging your hair, avoid getting extensions more than two times consecutively in the same year.
The weight you add to your scalp and the extra tension you impose on the root of your hair can be harmful in the long term and lead to significant hair loss.
To avoid damaging your hair, avoid getting semi-permanent extensions more than two times a year.
It is also possible to get extensions by sewing hair onto a braid very close to the scalp. This semi-permanent technique, although very effective, can cause discomfort in the first few days.
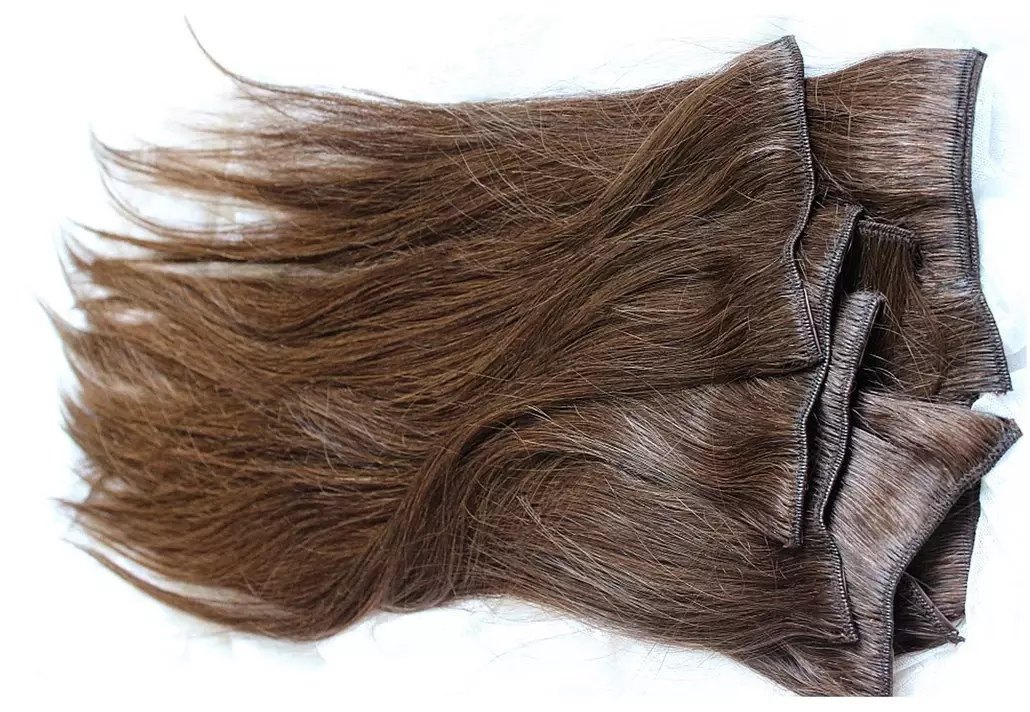
We also mention the type of extensions that you can remove and put back at your convenience.
Made to measure, they are attached using small barrettes to a band of hair near your scalp.
They do not damage the hair, adhere effectively, are put on in a few minutes and, if made of natural hair, you can use them for a long time and change the color as you like. You can also treat them with a flat iron to match your hair. You can buy natural hair bands in specialized shops. Here's how to make and install them yourself at home.
Step 1:
Make a first separation from one ear to the other at the nape of the neck.
Step 2:
Measure the desired length by leaving a 2 cm allowance on each side of the head to avoid seeing the extensions show on the sides. Double this measurement to double the thickness of the extensions.
Step 3:
Cut the extensions, then sew them together with stuffing thread or water-resistant thread. The thread should be strong. Then, sew the hair clips to the ends.
Step 4:
Make a second separation from one temple to the other at eyebrow height.
Take the measurement of the front extensions from one ear to the other, stopping more or less at the front of the ear, depending on your face shape.
Then, double your measurement as in step 1.
Sew the sections and add hair clips to the ends. If necessary, you can add clips in the middle for more stability. You can make other sections as desired to add thickness to your hair.
Step 5:
If you need to color the extensions, choose a color that harmonizes with your hair and apply it to the extensions while leaving them on a piece of aluminum foil.
Step 6:
To attach the extensions, start by backcombing the hair slightly. Then, attach the extensions by opening the hair clips to insert them into the backcombed section, then close the hair clips. Repeat the same process.
Technique 7
Technique 8
Step 1:
Choose a contrasting hair color. Make a straight horizontal separation over a width of 2 to 5 cm. Take a strip of natural or synthetic hair with a slightly smaller width than the width of the separation.
Step 2:
Apply waterproof false eyelash glue to the scalp. Then, apply glue to the strip of fabric from your extension and apply glue to glue while pressing.
Step 3:
Keep pressure and dry with cold air with a hair dryer. The glue will become transparent when it is completely dry. Wait about ten minutes before combing. Use baby oil to remove the extensions.
Technique 9
Evening hairstyle (The twist)
Step 1:
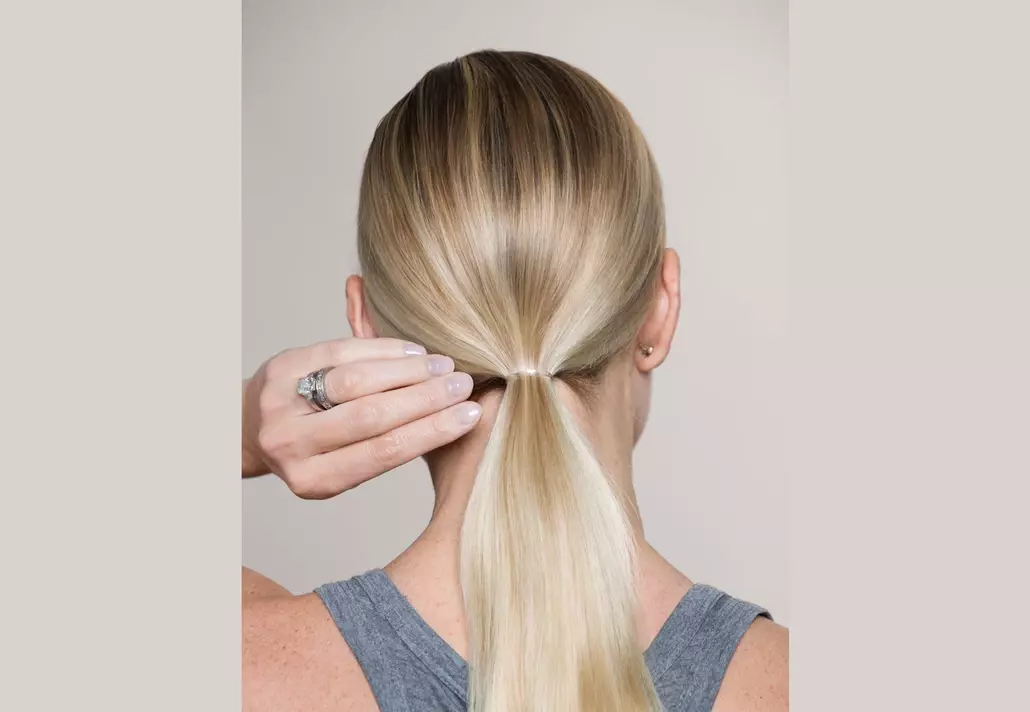
Separate from one ear to the other and make a ponytail on the side.
Step 2:
Lower the elastic band to the middle of the ponytail.
Step 3:
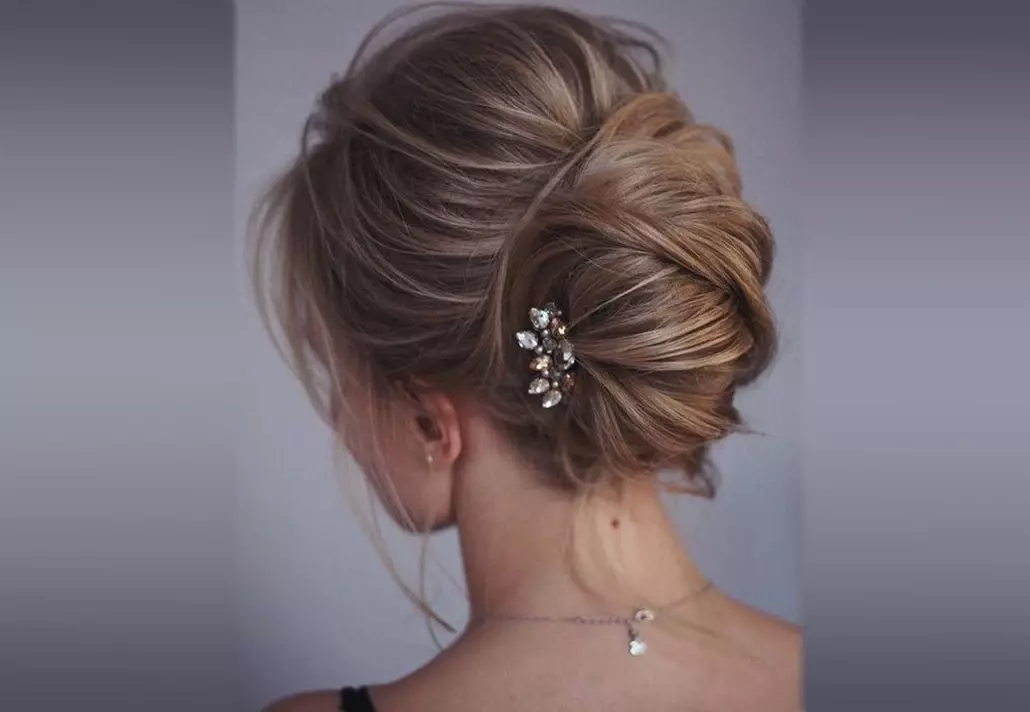
Take the ponytail, twist it by winding it upward as tightly as possible, then insert the hairpins into the fold to conceal them.
Step 6:
Backcomb the top section using a teasing brush or a tight-toothed comb.
Smooth out the section, turn the tip of the section by pushing it forward, roll it over itself, and secure it.
Technique 10
Step 3:
Firmly grab a small strand by the tip, in the center of the braid, while holding the elastic band.
Step 4:
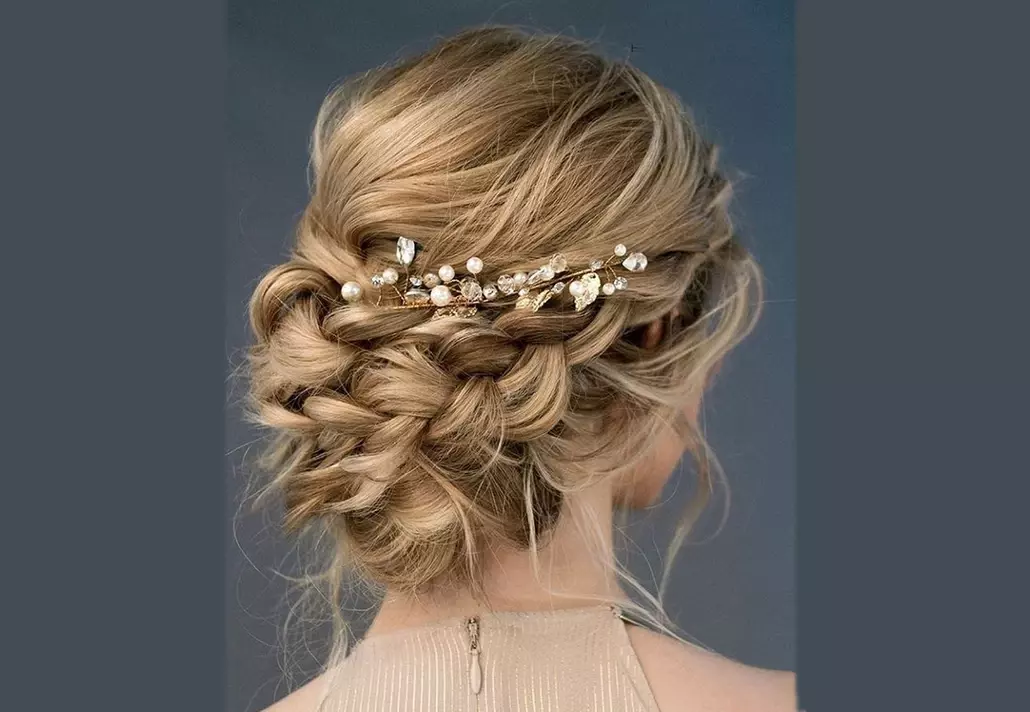
Push the elastic band upwards while holding the small strand, which will result in bringing the braid closer to your scalp. The braid will then take the form of a bun with a long central strand.
Step 5:
Secure the bun with hairpins.
Step 6:
Secure the central strand by wrapping it around the bun.
Technique 11
Evening Hairstyle
Step 1:
Make a separation from one ear to the other on top of the head. Isolate the sides of the head with hairpins.
Step 2:
Separate the back section into a smile shape, make a ponytail, and tie it with a fabric elastic band.
Step 3:
Separate a second back section, still in a smile shape, and tie it with a fabric elastic band to get three ponytails.
Step 4:
Take a section of the middle ponytail and loosely wrap it on itself. Grab a small strand in the middle of this section and slide the rest of the hair upwards, along the middle strand. Secure it all with a hairpin of a color that is as close as possible to the hair color. Continue in the same way with the three ponytails.
Step 5:
Take the side sections and proceed in the same way, then tie back.
Step 6:
Backcomb the top section using a backcombing brush or comb, polish it, twist it once, and secure it in the back.
Technique 12
"The Satine Hairstyle"
This hairstyle pairs well with an evening outfit or can be paired with naturally curly hair to give a textured effect.
Step 1:
Use fabric hair ties without metal. Take a strand and wrap the hair tie around it.
Slightly pull the hair out of the hair tie by going from the tip to the root. Tie the hair tie by pulling on both ends.
Step 2:
Spray some hairspray on the strand and heat it with a flat iron. Let it cool and remove the hair tie. Repeat around the face.
Technique 13
Step 3:
Let it cool while keeping the shape with a hairpin and repeat on the entire head.
Step 4:
Release the curls. Note that the larger the strands, the looser the curls will be.
Conversely, the smaller the strands, the more curly the curls will be. Take the strands randomly on the entire head.
What do you think of these expert techniques?
Do you feel more reassured about doing a hairstyle?


